 Inspired by a recent tutorial/free printable giveaway on Susan Niner Janes’ blog, Papercraft Post, I was keen to have another go at paper bead making. Susan’s clever idea was to add patterned ‘toppers’ to the narrower ends of tapered paper strips which are rolled into beads, so that an attractive design appears on the widest part of the bead after rolling. I wondered whether I could create my own patterns using short sections of quilling strips to produce a ‘candy stripe’ effect – and these earrings are the result.
To make the beads for my earrings, I tapered the edges of 20mm wide iris-folding strips by careful measurement and cutting to achieve a symmetrical shape. To the wider end (on the inside of the bead when rolled), I glued a short looped-over length of paper twine to form an integral hanging hook for my earring beads. This doubled-over length of twine runs across the whole width of the strip right at the end, providing a fairly firm central ‘core’ to roll the bead around. The resulting loop is useful because it gives you something to hold on to when smoothing the bead into shape and also when applying glue/varnish. Plus, of course, it provides a fixing to thread the jump ring through when making the beads into earrings!
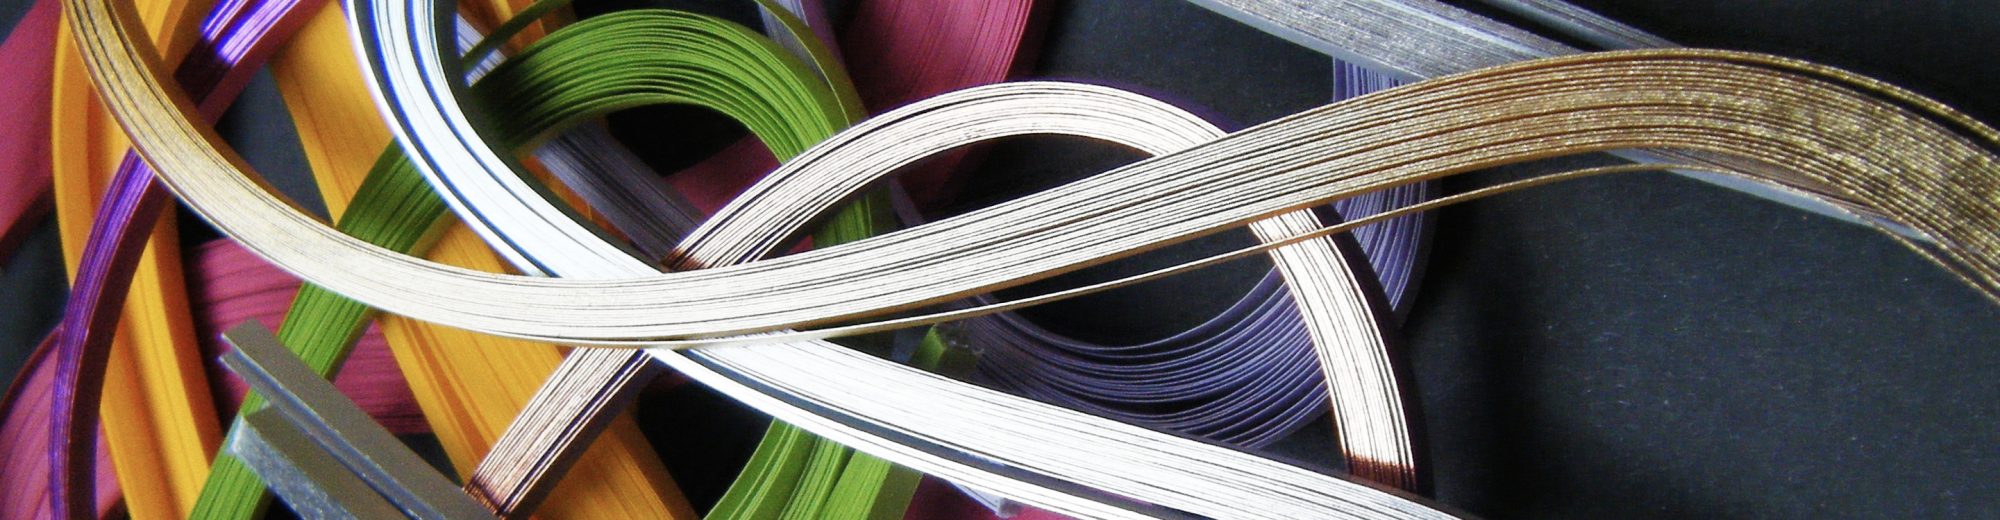
For the candy stripes, I selected 8 short lengths of left-over 3mm quilling strips and glued them diagonally, edge to edge, across the narrowest end of the strips (to appear on the outside of the bead when rolled).
After rolling each bead, I found I could easily slide the outer band of candy stripes up and down in order to ‘play’ with the finished shape, and the central paper twine loop could also be pulled and pushed to help achieve optimum shape and smoothness before fixing the finished bead with an outer coat of glue. Once I was happy with the shape of each bead, I applied the fixing coat of glue with a brush and popped a cocktail stick through the loop to help hold it upright while drying. (I insert my cocktail sticks into the tiny holes of a ‘pin art’ board for drying purposes, but you could equally well use a bulldog clip or a lump of plasticine to hold them.) Once the glue was dry, I finished by applying a layer of clear nail varnish.
I’m quite pleased with the end result, and am sure there must be many more interesting ways of enhancing beads with ‘toppers’. Do check out Susan’s blog here for further bead-making inspiration.
