Tag Archives: pixie-hood looping

QUILLING – the art of paper filigree

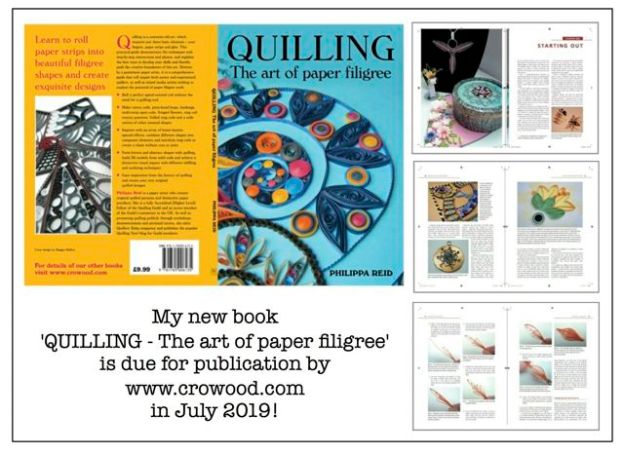
It’s happening at last! The first advance copies of my book ‘QUILLING – the art of paper filigree‘ – arrived in the UK yesterday, and my publishers, Crowood Press, have already created a page for it on their website for pre-orders. If you’d like to reserve a copy for delivery as soon as it is published, you can access the direct link here.

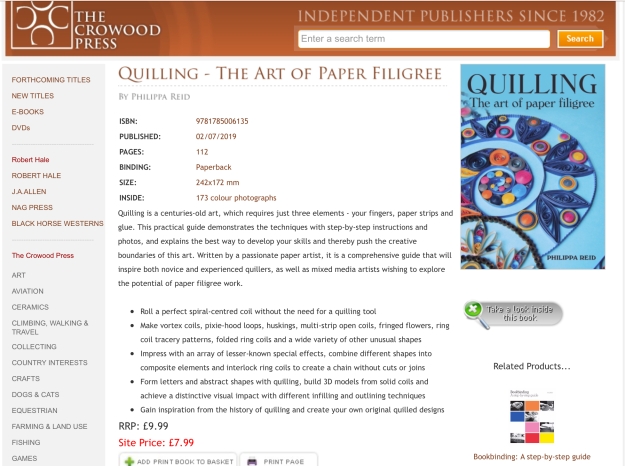
Publication is scheduled for July 2019, as we wait for the bulk shipment of books to arrive by sea. Meanwhile, however, I am finally free to reveal the cover artwork, along with the detailed back-page overview of what the book contains.

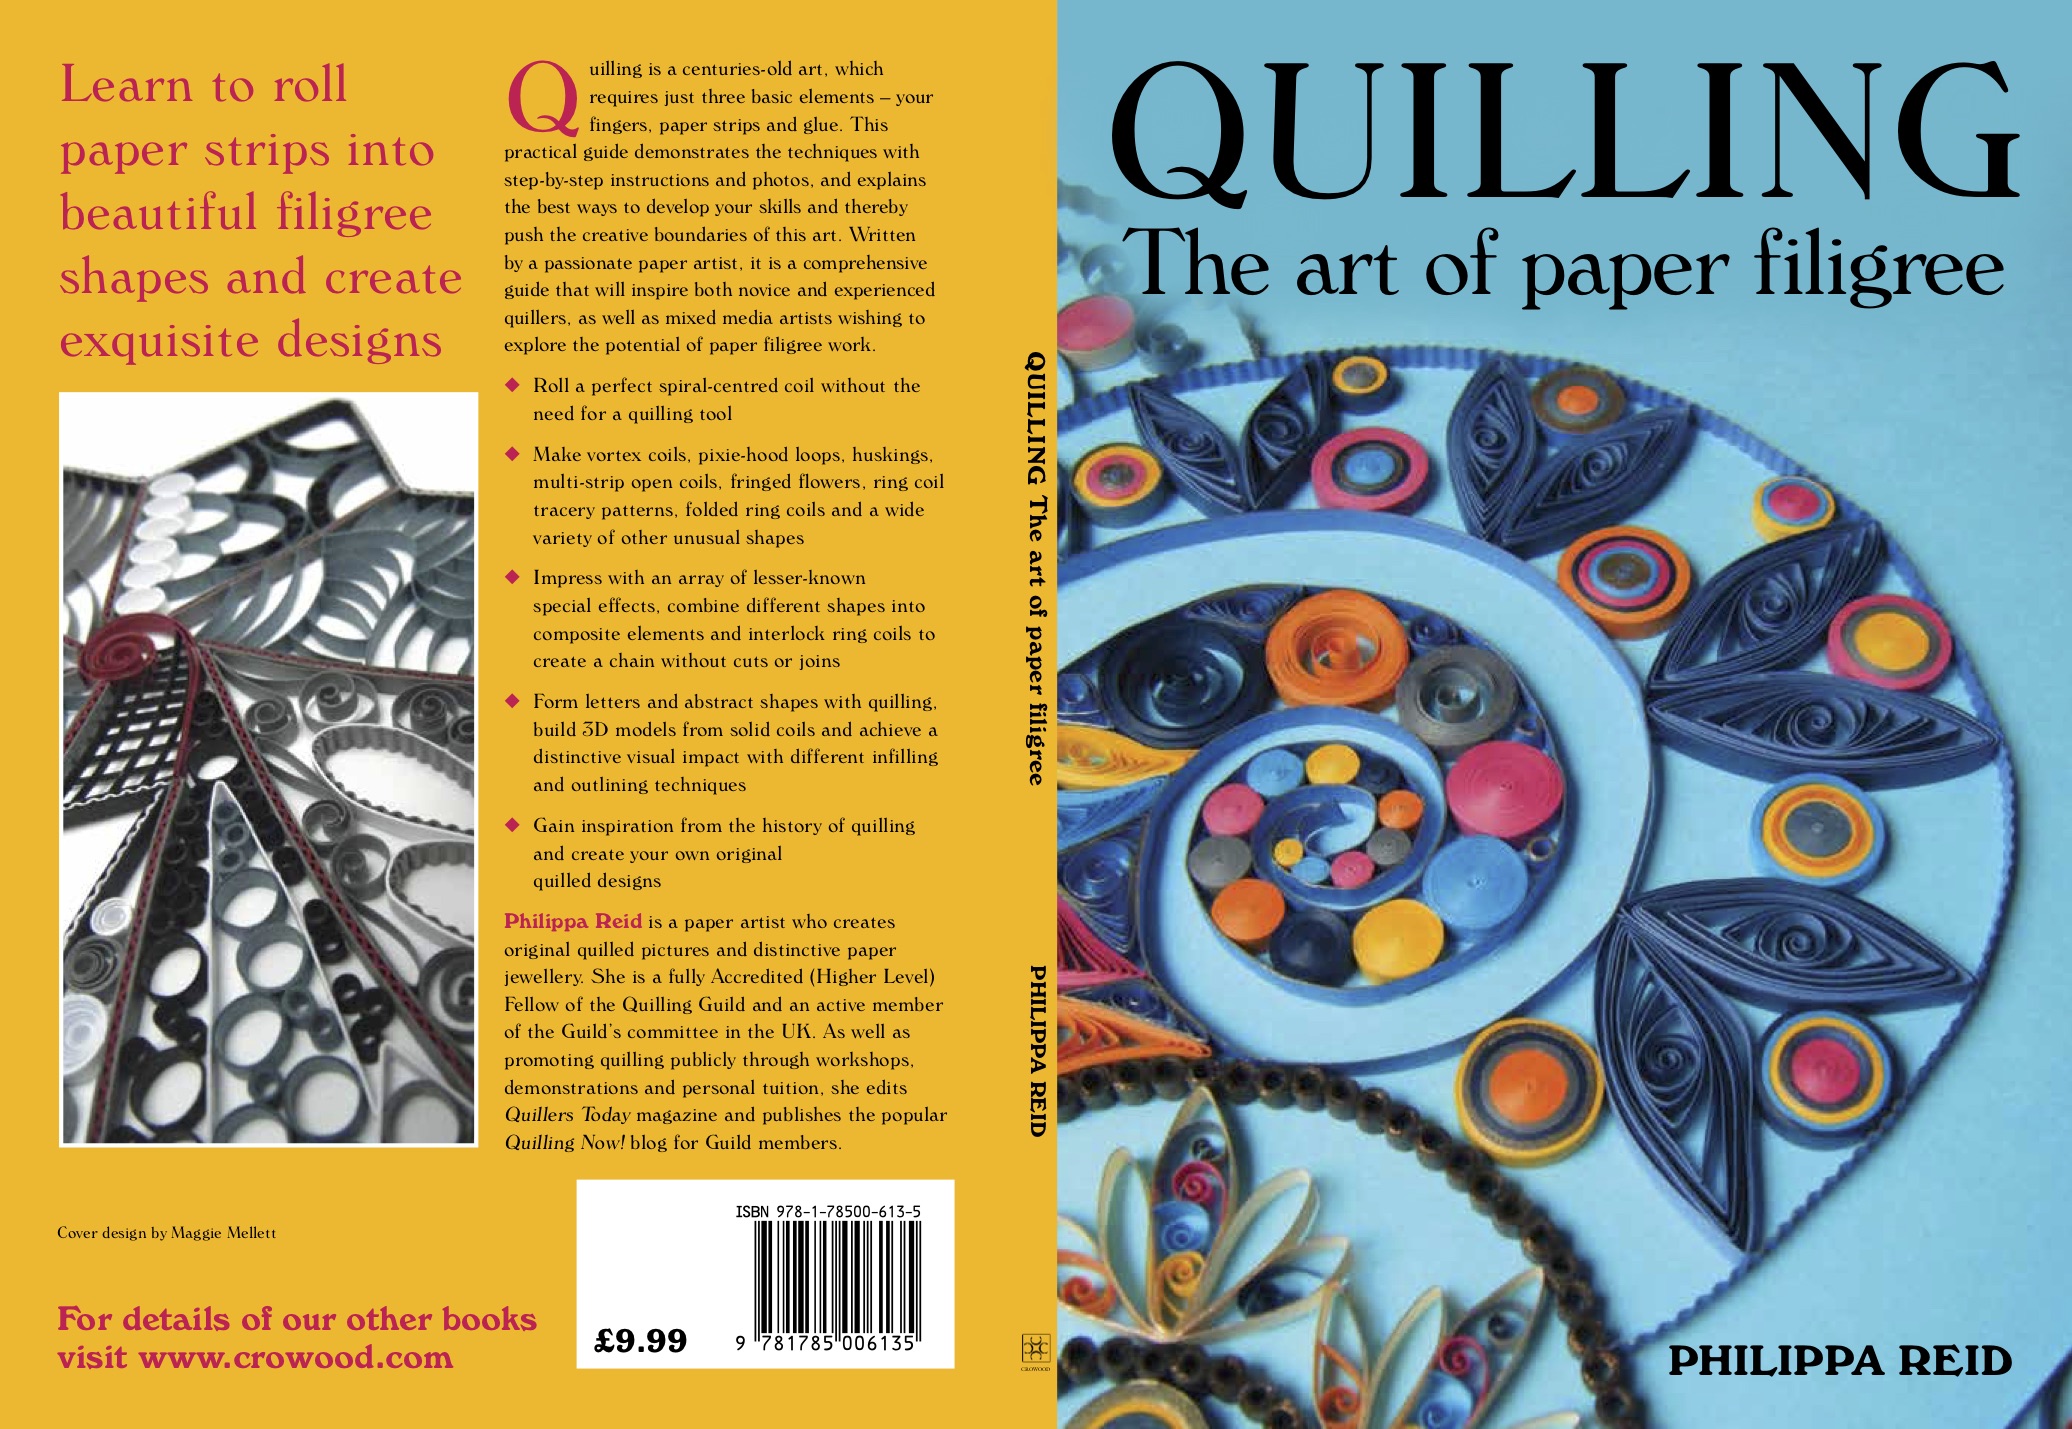
As I explained in my last post, this is a quilling book with a difference. Unlike other project-based books that currently proliferate in the crafting market, my book is intended to be a comprehensive ‘how-to’ guide that aims to describe every aspect of quilling in all its inspirational variety. It deals with hands-on practicalities in a very detailed way, seeking to encourage readers’ own innate creativity through the mastery of technique. In short, it’s designed to inspire!

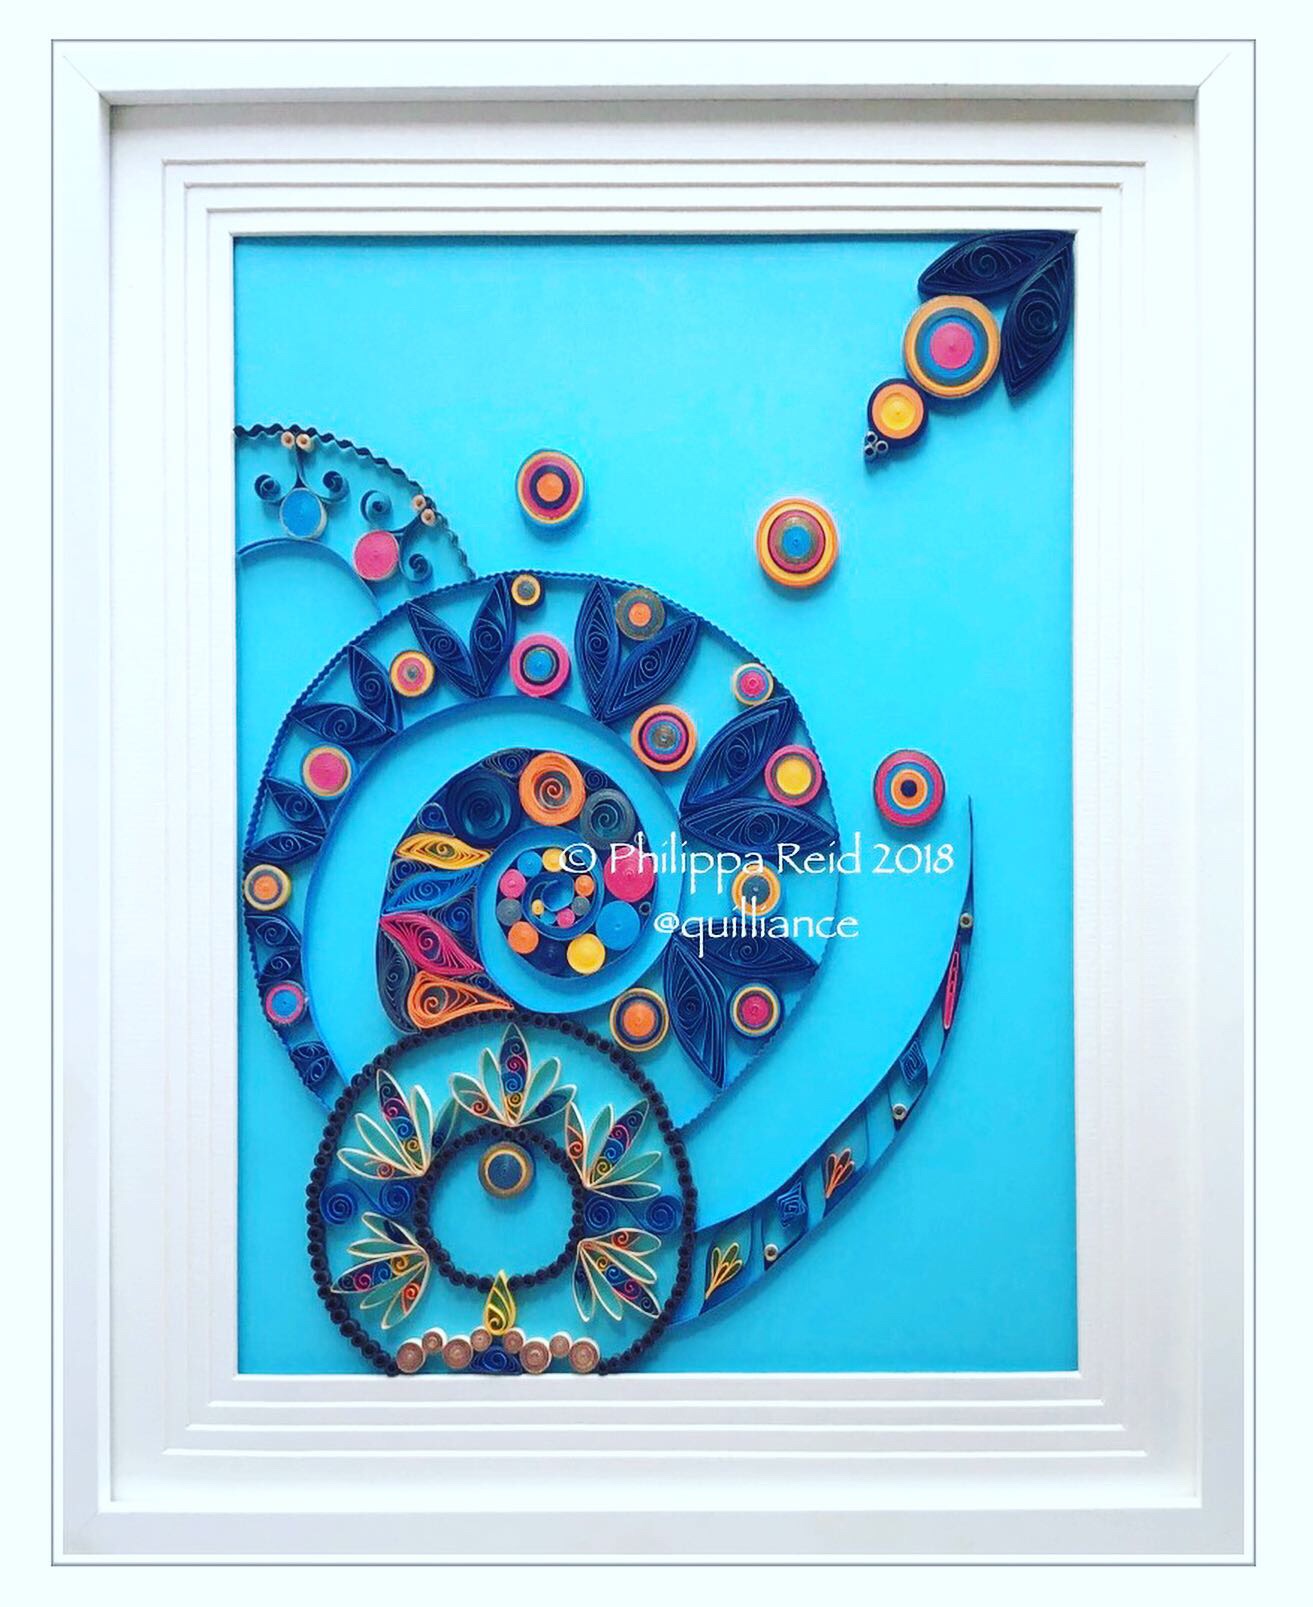
I am proud of the cover artwork, which was a project I worked on during my artist’s residency at Taunton’s wonderful CICCIC gallery last year.

Here’s the finished framed piece which was designed to sum up the scope of the book, using a broad mix of techniques to illustrate the vast range of different visual effects that can be achieved in the context of colourful circles and spirals. Unconventional, maybe – but a genuine expression of my own creative heart.

All that remains is for me to commend this book to you, and trust that it will be received in the same open-minded creative spirit as that in which it was written.

Let me leave you with a few quotes from the text:

Appreciation of the sheer variety of techniques that can be utilised in quilling is the key to realising its full creative potential.

There is a wealth of creative potential to be found beyond the realm of the closed loose coil.

The intricacy of a quilled design can be both impressive and daunting in equal measure. However, when broken down into its constituent parts, a quilling usually reveals itself as much less complex than appearances may suggest.

If any or all of these sentiments ring true in your mind, maybe this is the book you have been waiting for…

Yes, I do quill flowers … occasionally!!

It seems I’ve got a bit of a reputation … and deservedly so, because it’s based on an indisputable fact: I’m not particularly ‘into’ quilling flowers!!

I CAN quill them, of course, and I have made many, many of them in the past during my ‘card-making years’ – but these days my preference leans much more towards abstract work than conventional quilled ‘prettiness’. I’ve always been a bit of a rebel, and I guess it shows in style of the work that I generally produce.

However … I did make an exception this year when I created a card to enter into one of the prestigious craft competitions at Taunton Flower Show – a very high-profile horticultural and country show staged annually in the South West of England.

The requirement was for a card to welcome the arrival of a new-born baby, and here’s my design, made to conform strictly to the competition criteria of ‘an original design using no commercially-made embellishments’:

It's a girl copyrighted

Flower close-up copyrightedI decided that, if I was going to make a quilled flower, it would definitely have to be a ‘wow factor’ one! So I set to work with a combination of huskings made on onion-holder prongs, ‘curly’ pixie-hood loops (as first pioneered by my friend Janetta van Roekel), teardrop shapes and a central fringed pom-pom using a graduated strip – all in one of my favourite colour combinations.

I quilled the lettering using a multi-strip outline technique that I learned from Jane Jenkins and which we are, incidentally, going to feature in the Autumn 2015 issue of ‘Quillers Today‘ magazine because I’m sure that many other quillers will be interested to try it.

Anyway, my decision to go down a more conventional, ‘prettily designed’ route definitely paid off, as I won an award for this particular card at the Flower Show. That really meant a very great deal to me since Taunton (where the Show was held) has always occupied a very special place in my heart.

It goes to prove, too, that exceptions do sometimes prove the rule … now, will my reputation remain intact?

A passion for pixie-hoods!

Ever since The Quilling Guild endorsed Pixie-Hood Looping as a recognised technique seen in antique quilling, I’ve been fascinated by its creative potential … and when Janetta van Roekel demonstrated her ‘curly flowers’ variation at the Guild’s recent Shared Ideas Day, I was definitely ‘hooked’!!

I wanted to combine Janetta’s curled petals which are made using open pixie-hoods with much wider closed pixie-hoods that create a kind of calyx sheath. I’ve found that the two go together quite well, as you can see in this new card design:

Tutorial card with copyright cropped

Several people have asked me for a tutorial since I first posted a design like this on Facebook, so here it is:

DSCF6729Make seven pixie-hoods from 7 x 8cm lengths of 15mm paper.

Trim the ends. DSCF6730

Take 7 x 12cm lengths of 3mm paper in lilac, and glue a 12cm length of 3mm deep purple paper to each, gluing along its whole length. Allow to dry.

DSCF6731

Make the resulting two-tone lilac/purple strips into loosely open pixie-hoods, with the deep purple side on top.

DSCF6732DSCF6733

DSCF6734

Trim the cut ends of each of the two-tone pixie-hoods (referred to from now on as the ‘cross-over end’) and pinch the opposite loop into a point, now holding the pixie-hood with the lilac side uppermost. Secure the pinched point with a dot of glue. Allow to dry.

Place a cocktail stick across the inside (lilac side) of each two-tone pixie-hood, thread the ‘cross-over end’ through and under the ‘pinched point end’ and pull tight, bending both ends up towards you before removing the stick. Then, holding both ends, pull again gently to tighten the curls.

DSCF6736DSCF6735

DSCF6737

Insert the ‘cross-over end’ of each curled pixie-hood into a green pixie-hood sheath as shown, securing with a dot of glue. Press down for a few seconds with a cocktail stick until firmly attached.

Assemble on to the card as shown in the first photo, and glue a small fringed pom-pom in the centre. I also added a little printed ‘Happy Birthday’ greeting tucked in behind the petals, inspired by a special personalised touch in the lovely birthday card that I received recently from my talented friend Jill Chapman of Paper Daisy Card Design.